Our widget builder allows you to create a custom Web app and place it on your website with utmost ease and efficiency.
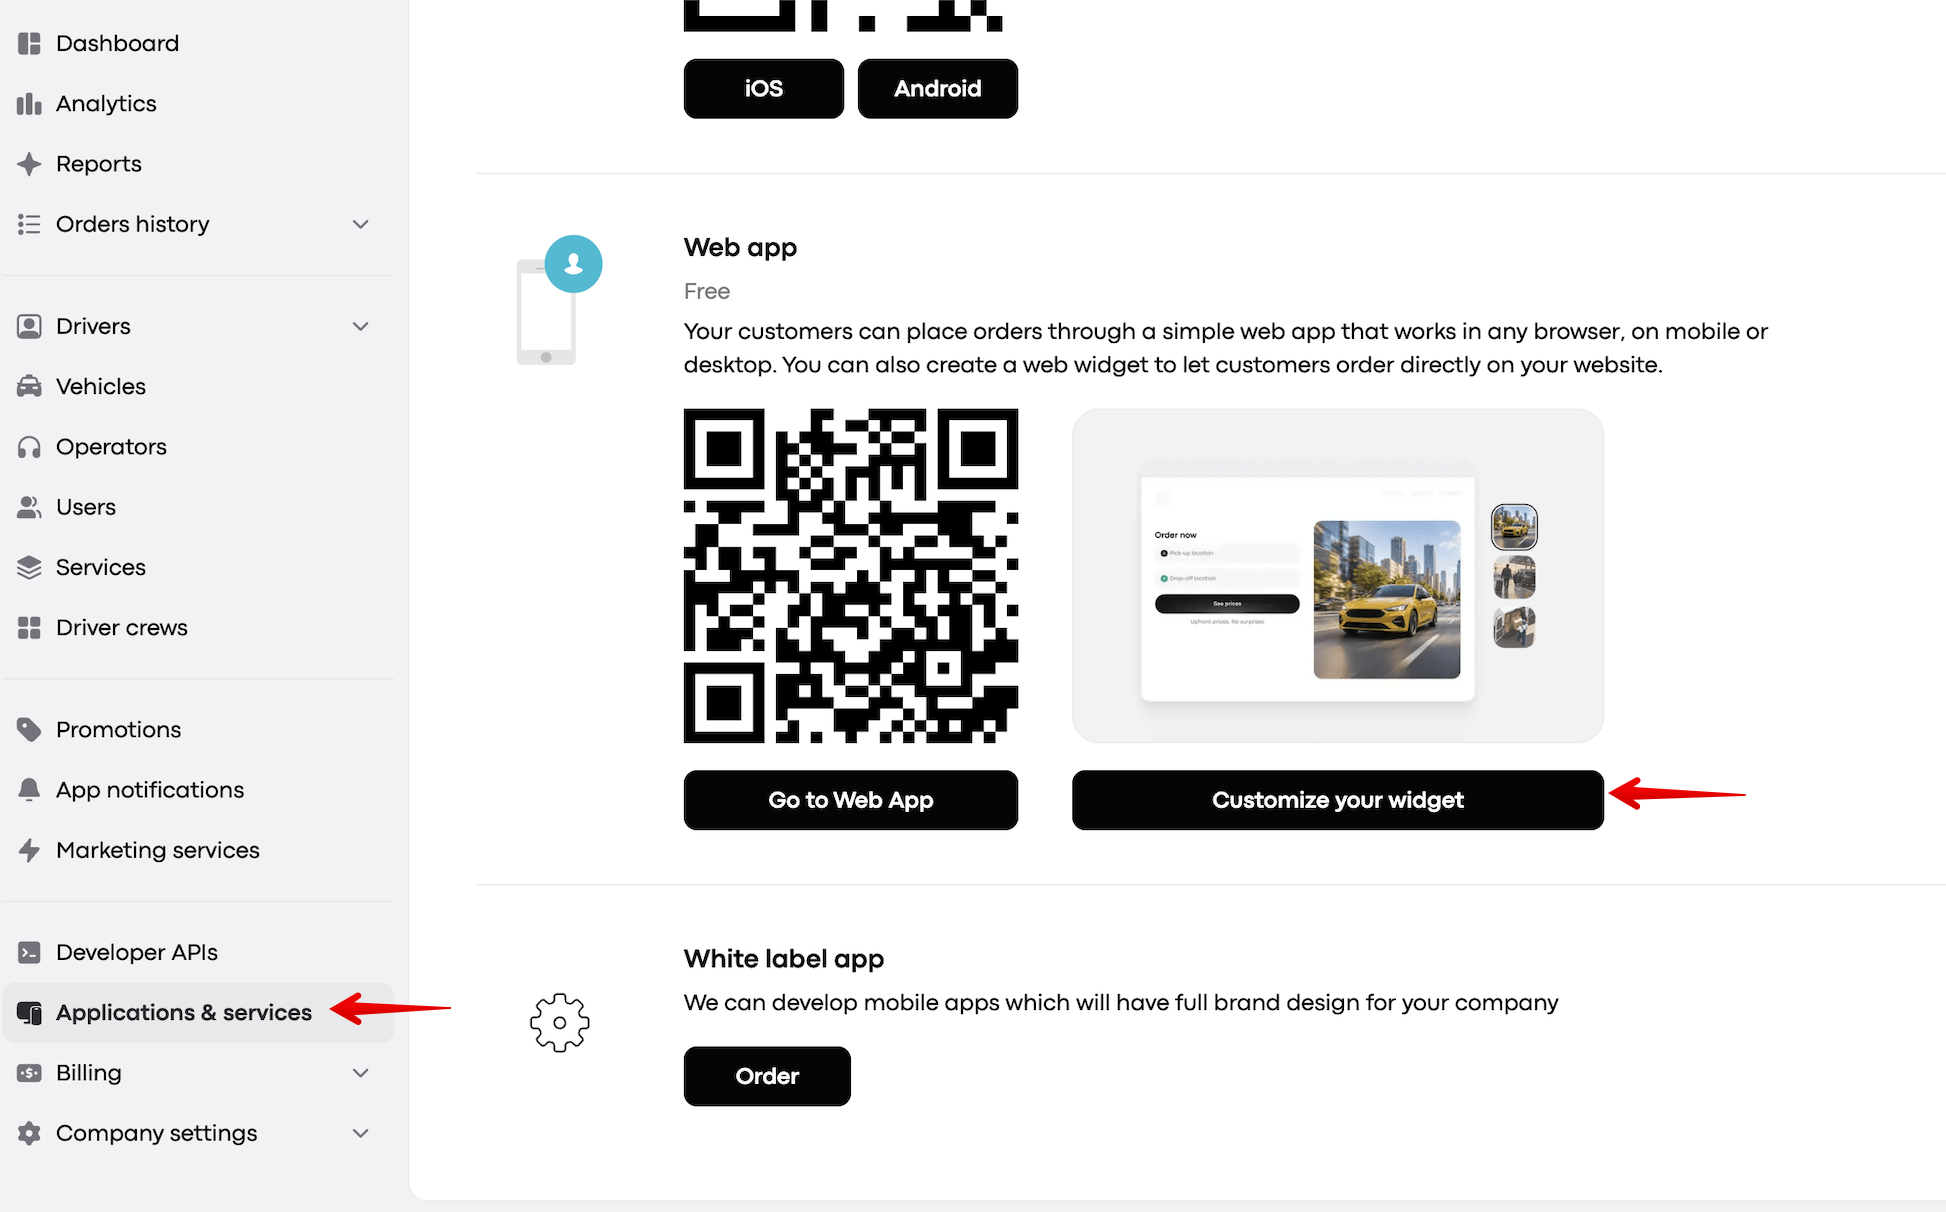
To access the widget builder, go to your company panel » Applications and services » Web app » Customise your widget:
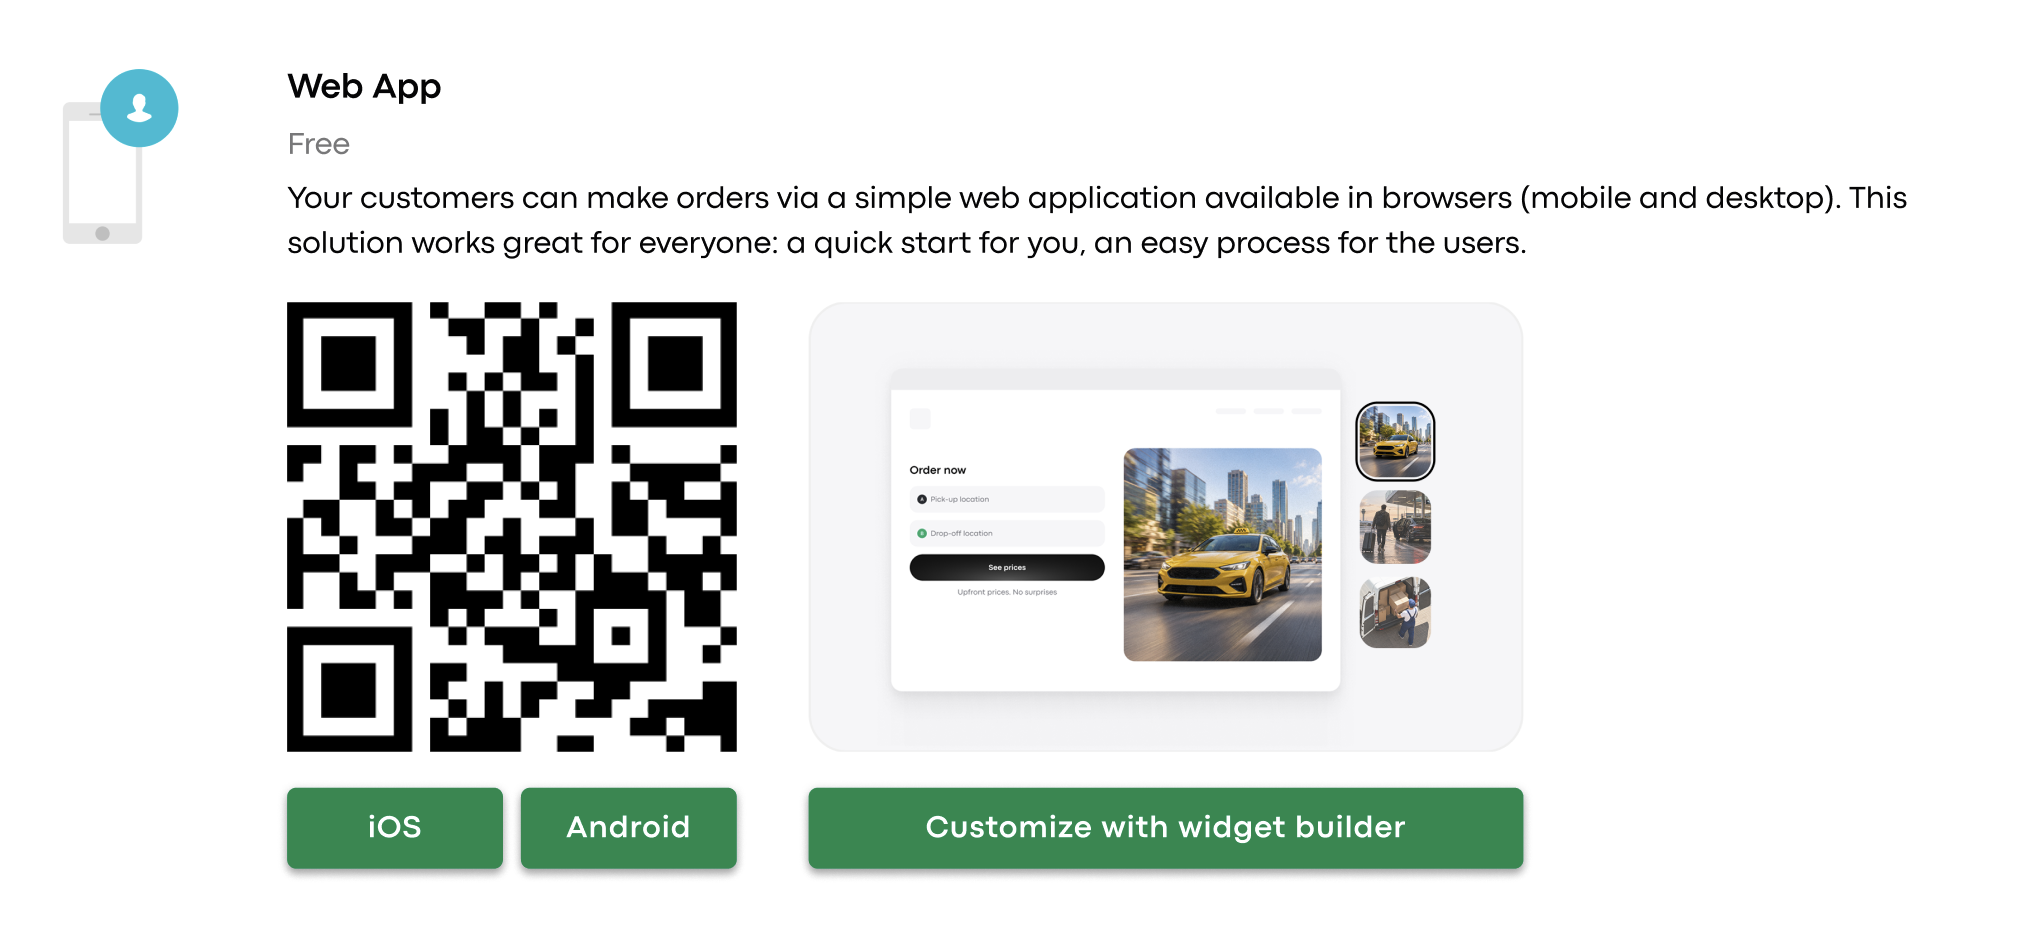
The widget builder page is divided into two sections:
Side menu with a multitude of configuration options on the left
The visualisation of the Web app on the right
Let us go through the side menu and the options to create one’s own custom Web app.
Mind that every detail you specify in the Side menu instantly reflects on the Web app form on the right.
Choose the type of your Web app:
Regular (for ride services)
Delivery (for delivery services)
On-demand (for on-demand services with no drop-off address)
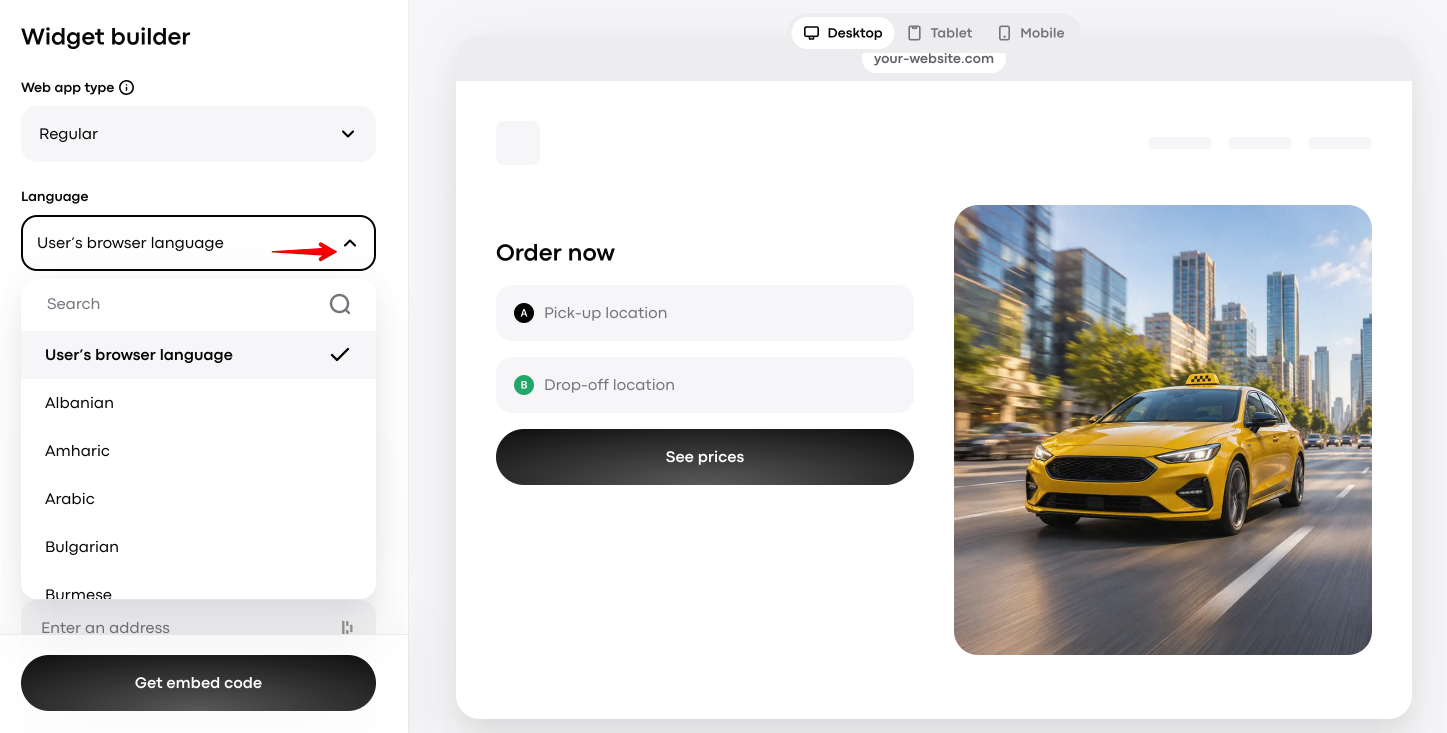
Specify the language you want your Web app to be shown to your website customers.
It can be either the user’s browser language or any of the languages available in the drop-down list.
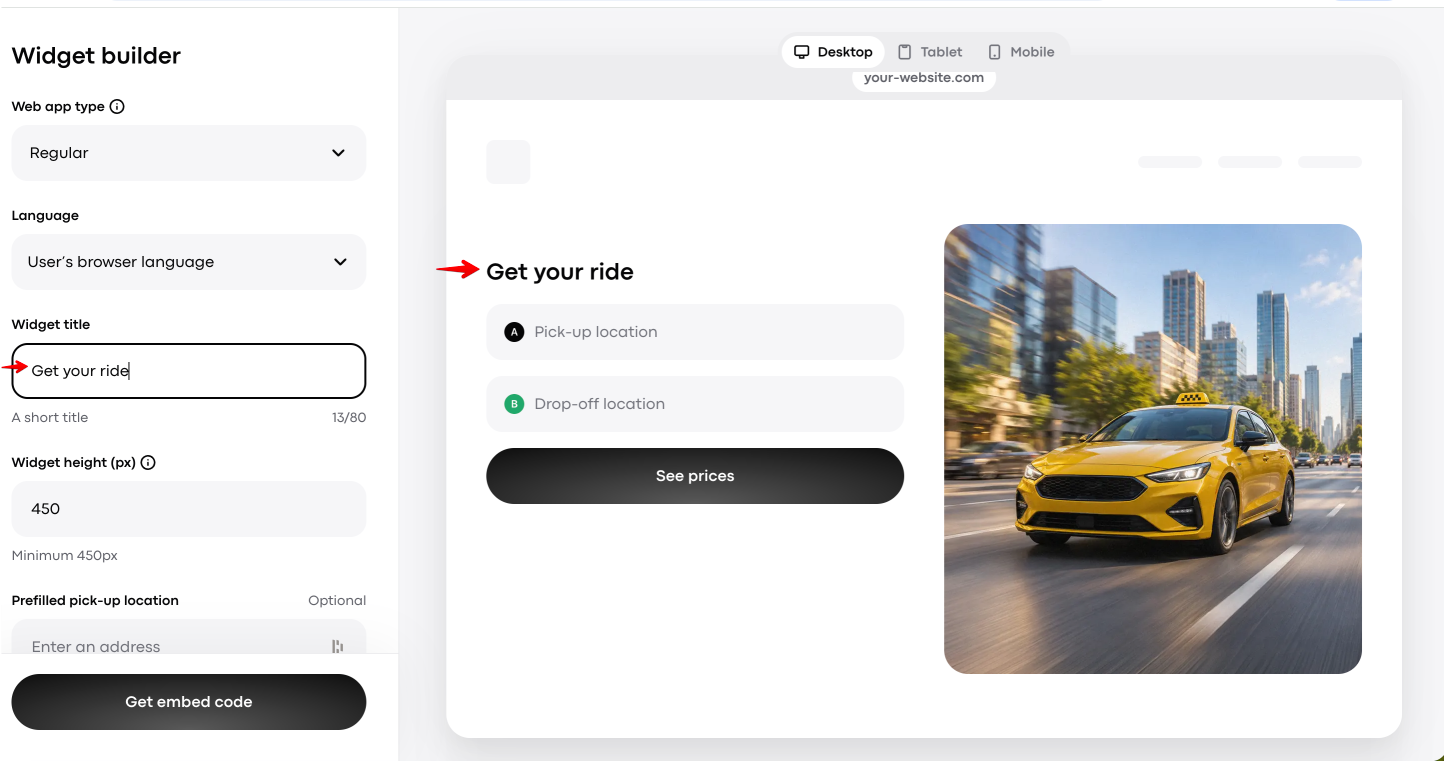
Adjust the default “Order now” title to any custom one which suits your business best.
Specify your Web app height.
The minimum default height is 450 px. This is to leave enough space for address suggestions when entering pick-up and drop-off locations. The widget automatically fills the full width of the space available on the page where it’s embedded. We recommend making the widget full-width.
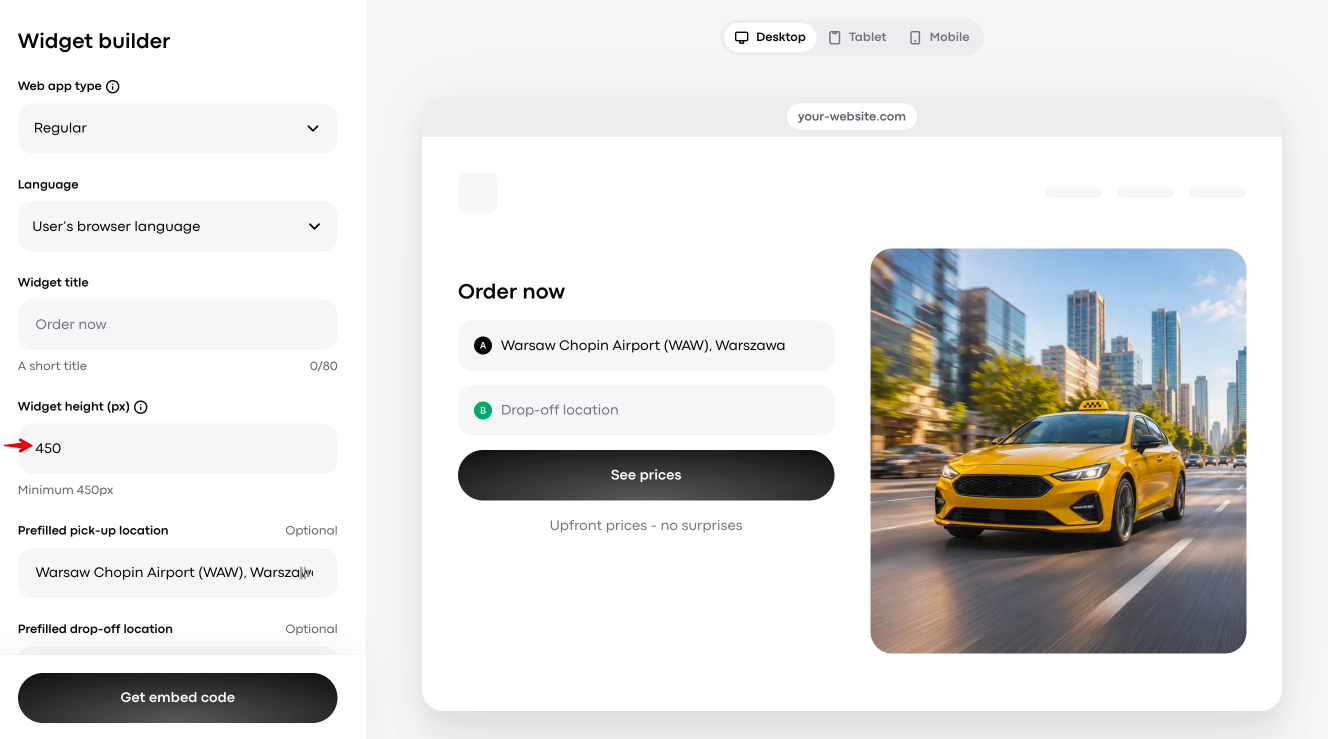
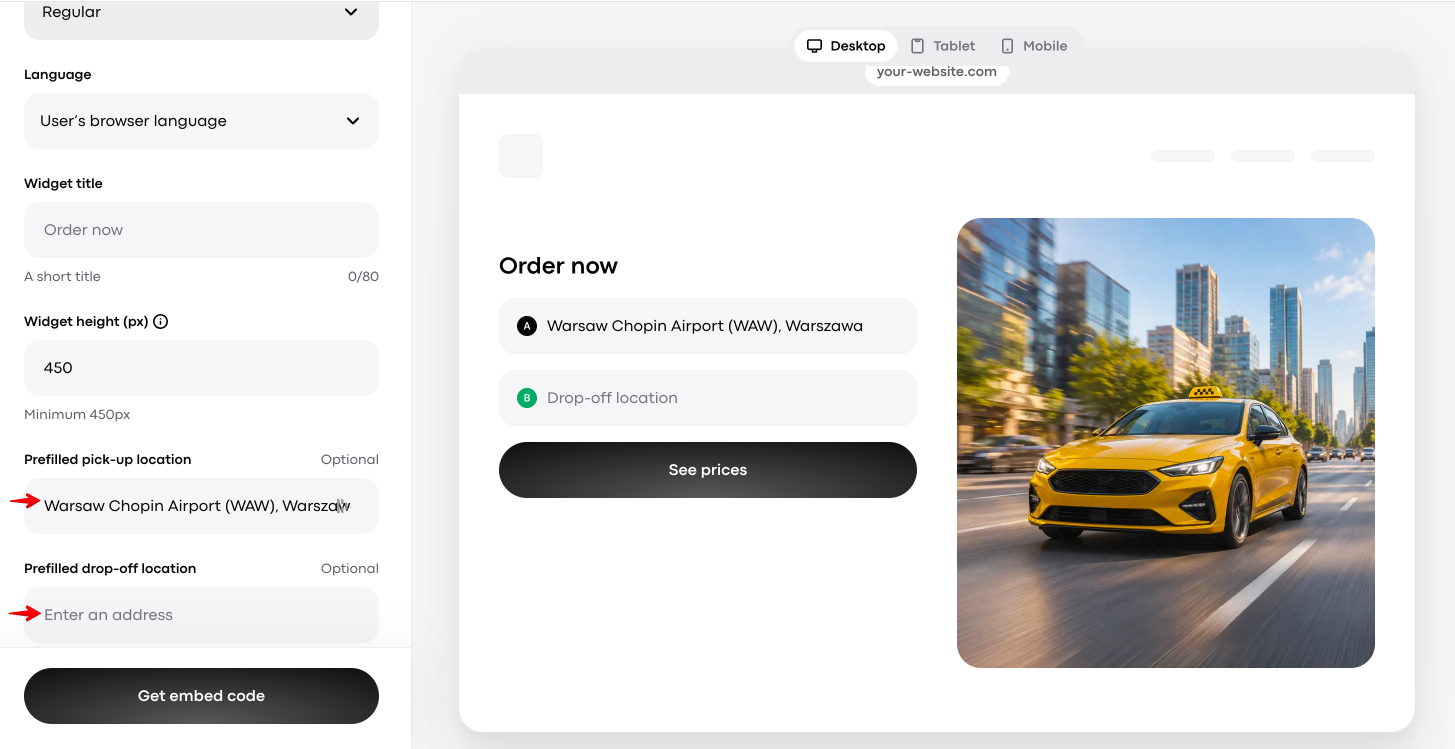
Prefill the pick-up address if your Web app will be placed at a specific location with predefined pick-up, e.g. Airport.
Prefill the drop-off location if you want the Web app to show a particular drop-off address. For instance, if you need to encourage rides to a certain event taking place in a specific location.
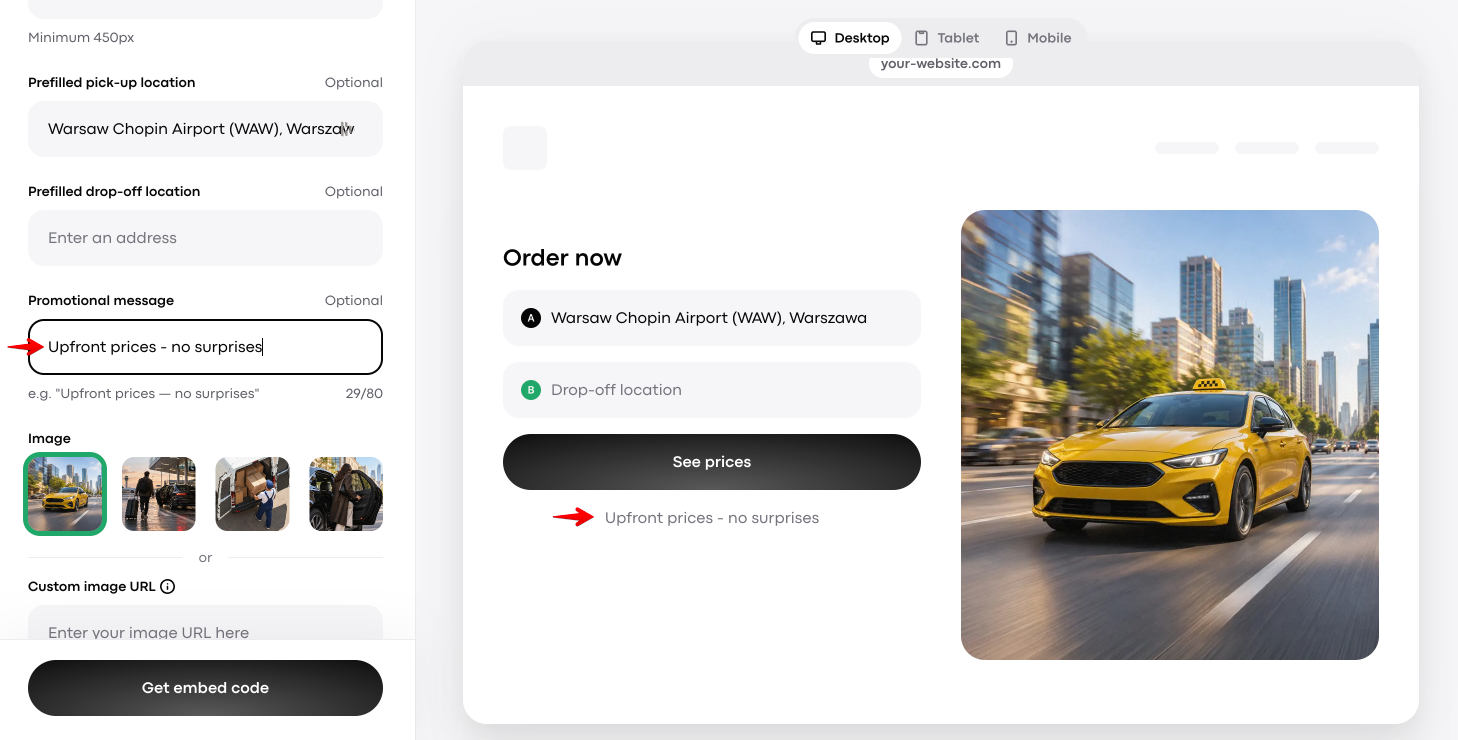
Add a catchy promo message to draw your customers’ attention.
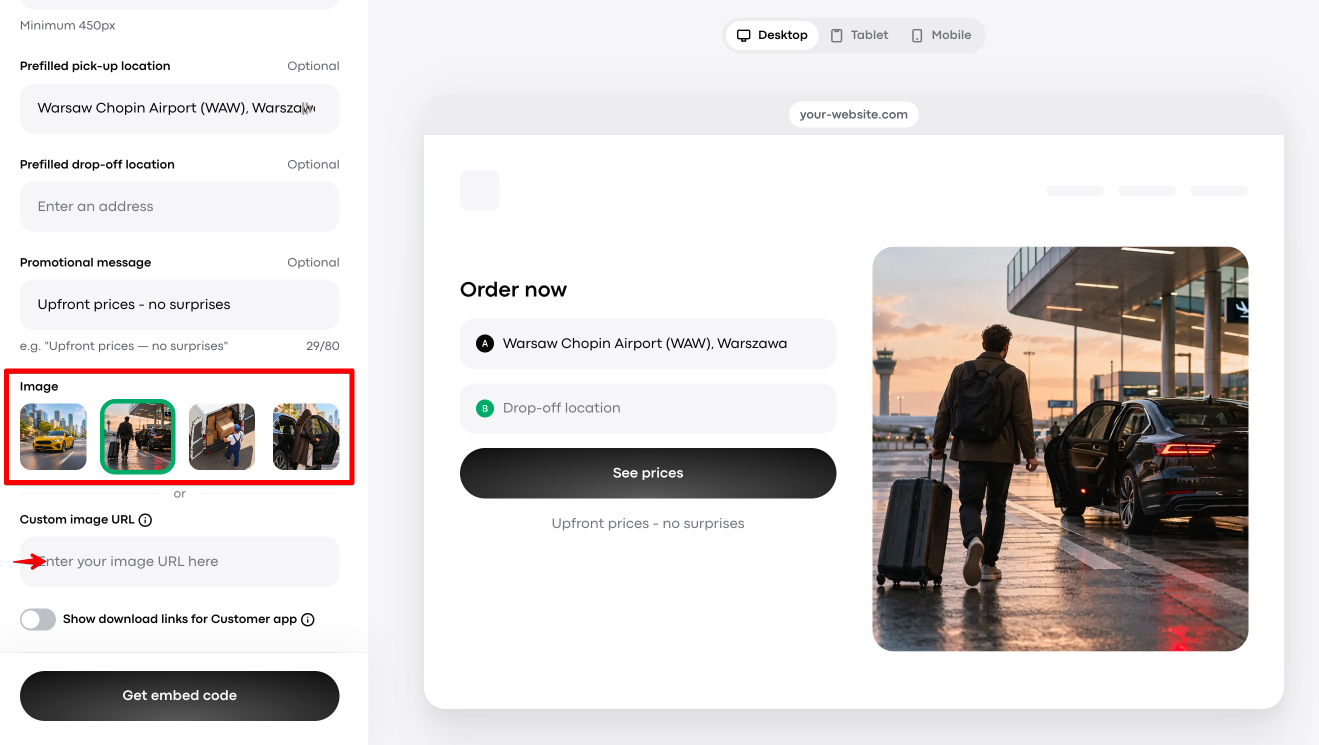
Select one of the four available images to best reflect your service.
Paste a direct link to your own custom image. The image should be hosted on an external website and publicly accessible without signing in. It will replace the selected image and be cropped to fit beside the form.
Enable this toggle only if you have an Onde Customer app.
Replace the default “Even better in the app” title with any that you feel can encourage your users to download the app from stores.
Add both your App Store and Google Play links to create one download link that automatically opens the right store based on the user’s device.
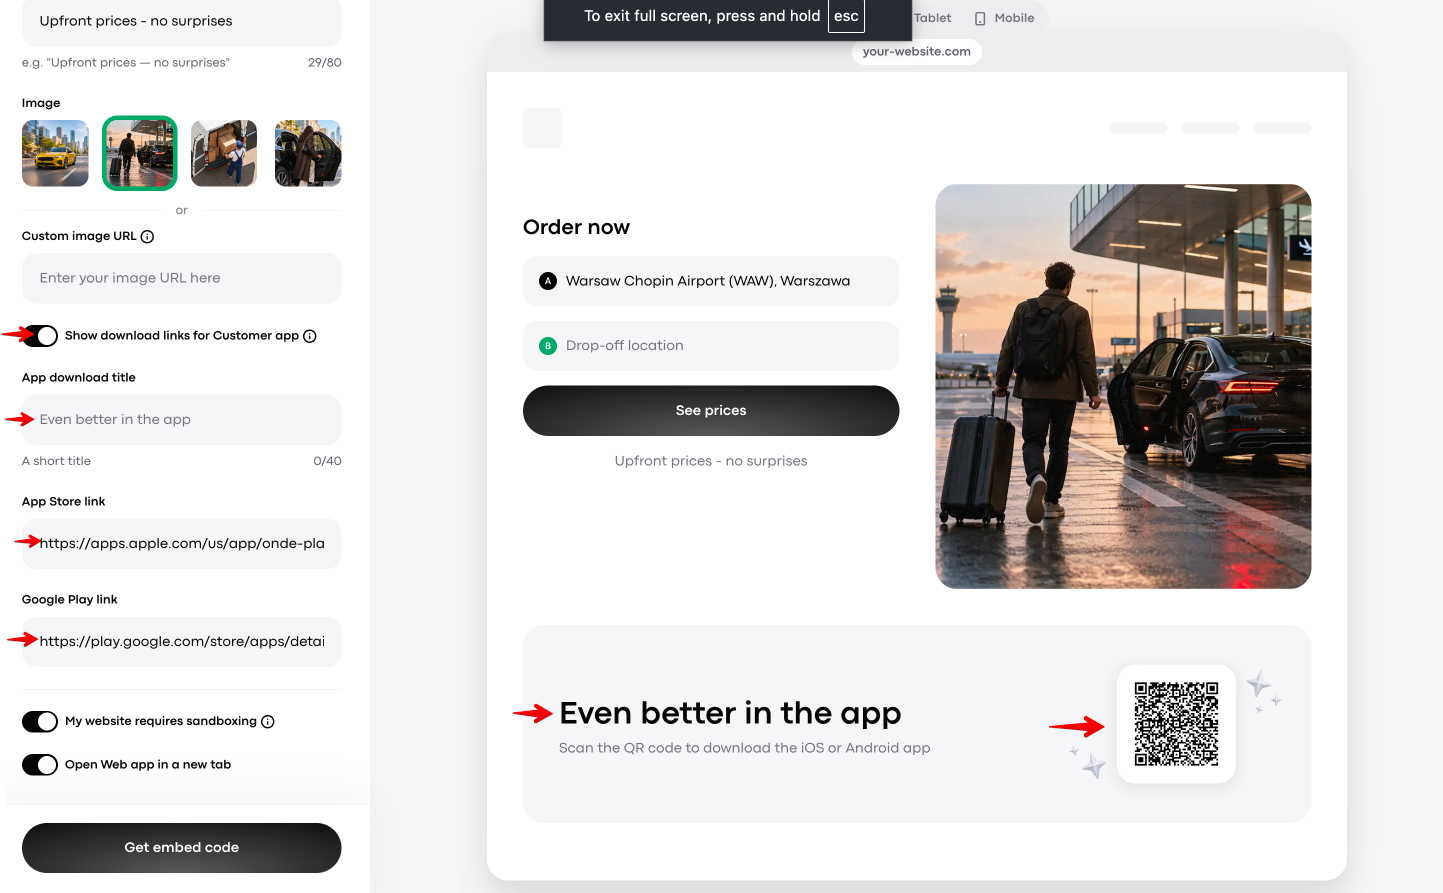
Sandboxing limits what embedded content can do on your website. Select this only if your website administrator requires it. We’ll add the permissions the widget needs to work properly. Keep them unchanged to avoid issues with features such as location access and price display.
Enable this if you want the Web app to be opened in a new browser tab.
Now that you have preset your custom Web app, you can check how your customers will see it on different devices.
Switch between Desktop, Tablet and Mobile tabs at the top of the widget to visualise the display on the specific device.
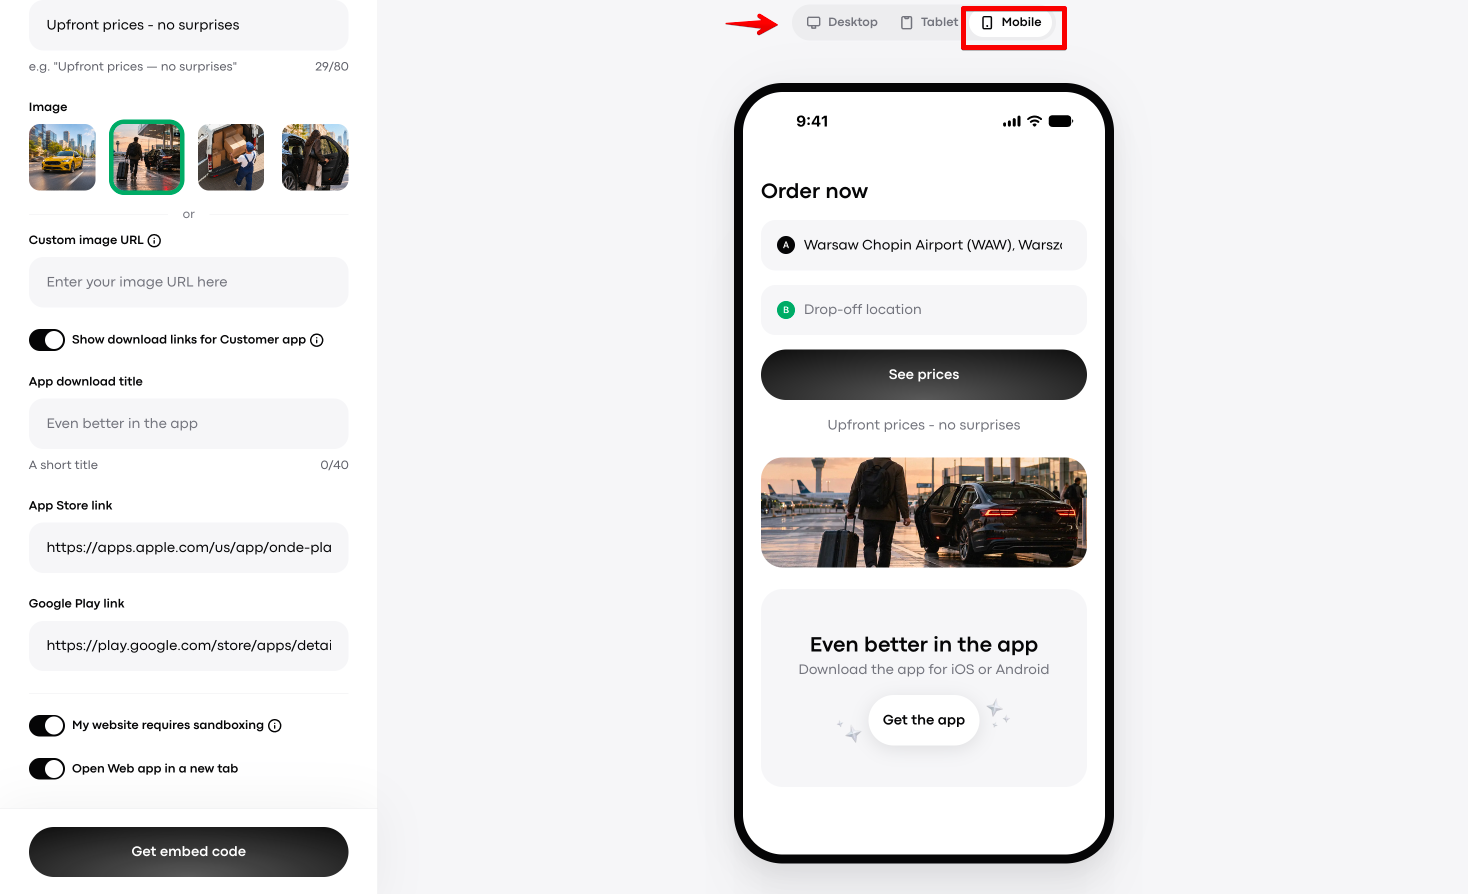
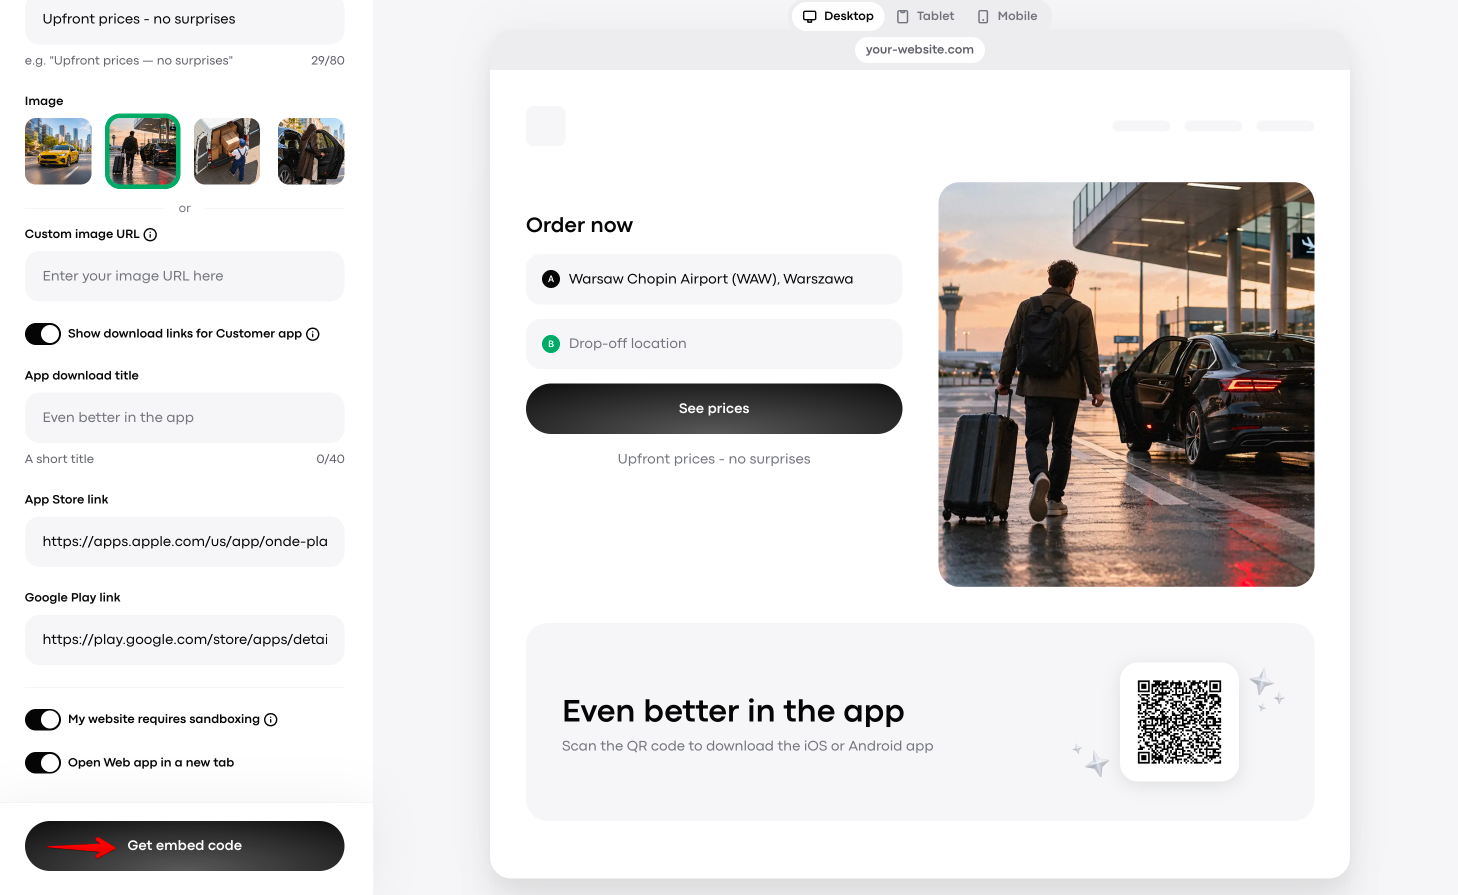
If you are happy with the setup and visualisation, tap on the “Get embedded code” button for the code to be generated.
On the “Get embed code” pop-up window, tap on the “Copy code” button.
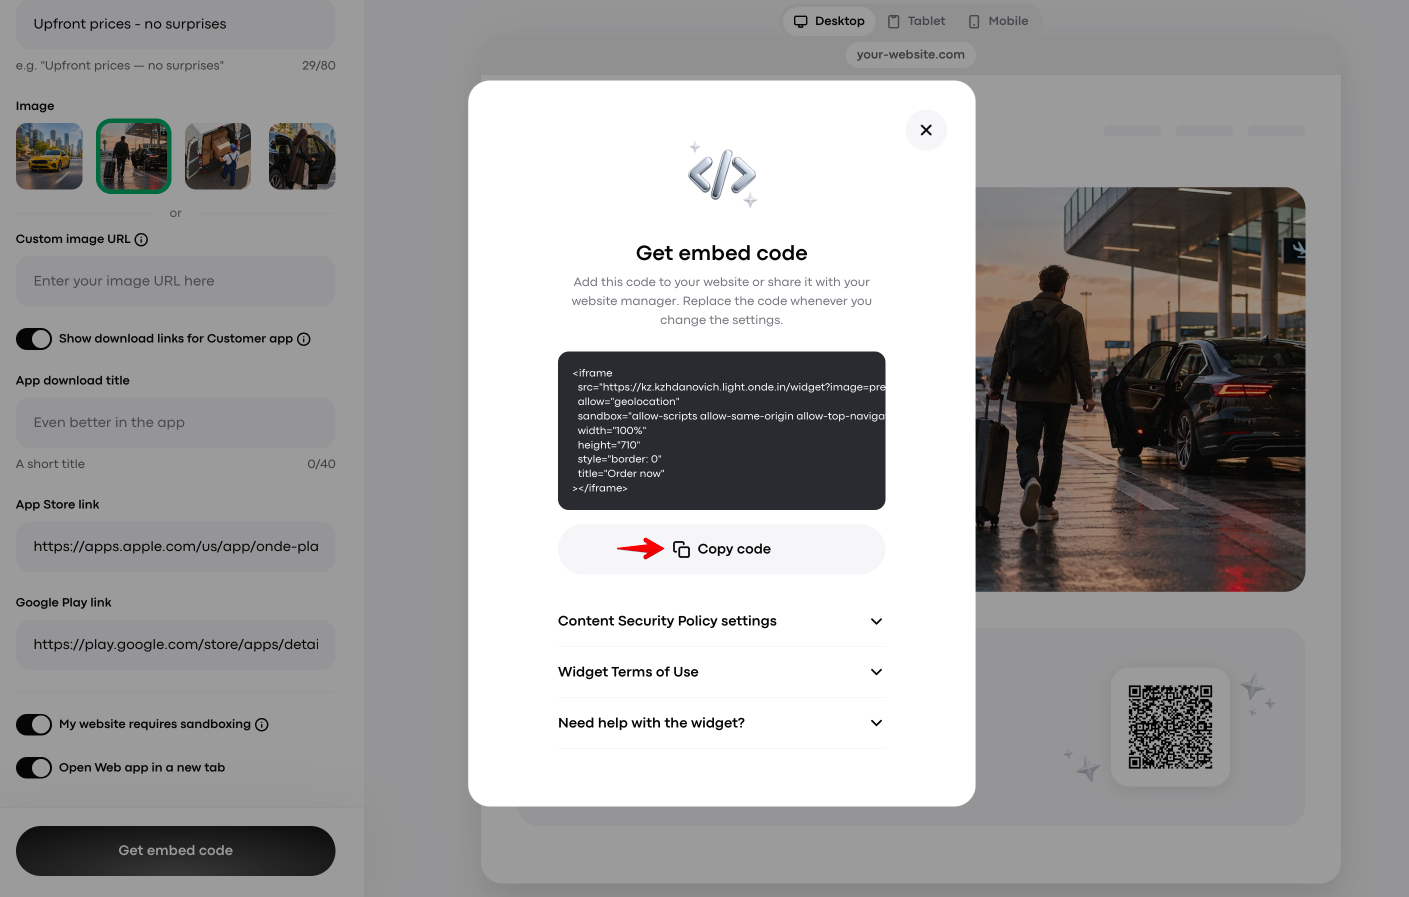
Please review the sections below on the “Get embedded code” pop-up window.
This section states that one should allow the widget’s domain in one’s CSP, keeping existing allowed domains.
This section states that adding the widget means accepting the Terms of Use and provides the specifics.
The section gives replies to frequently asked questions and redirects to [email protected] for further consult.
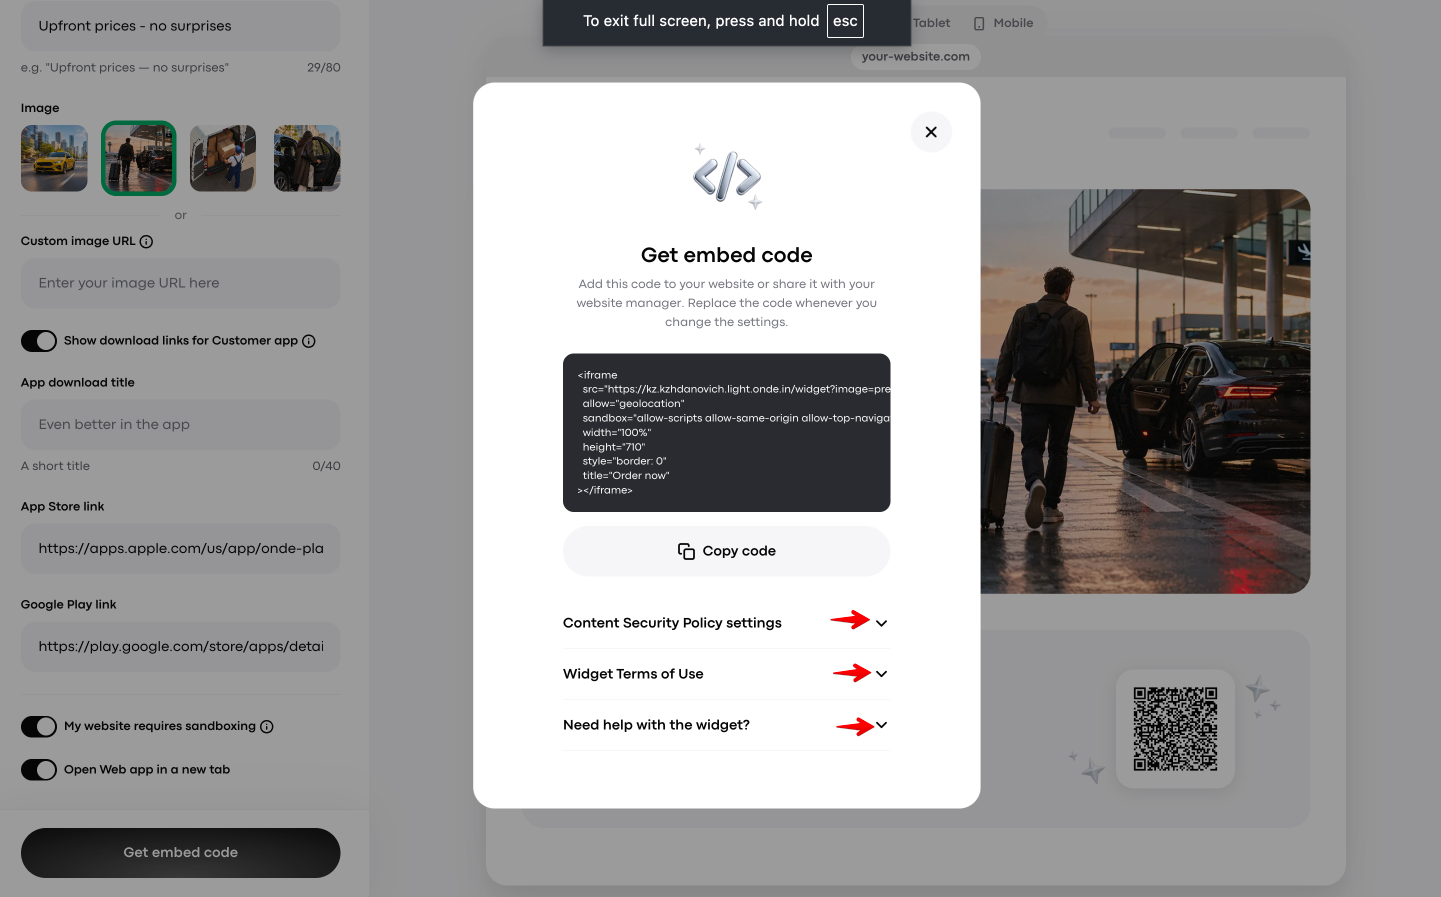
Add this code to your website or share it with your website manager.
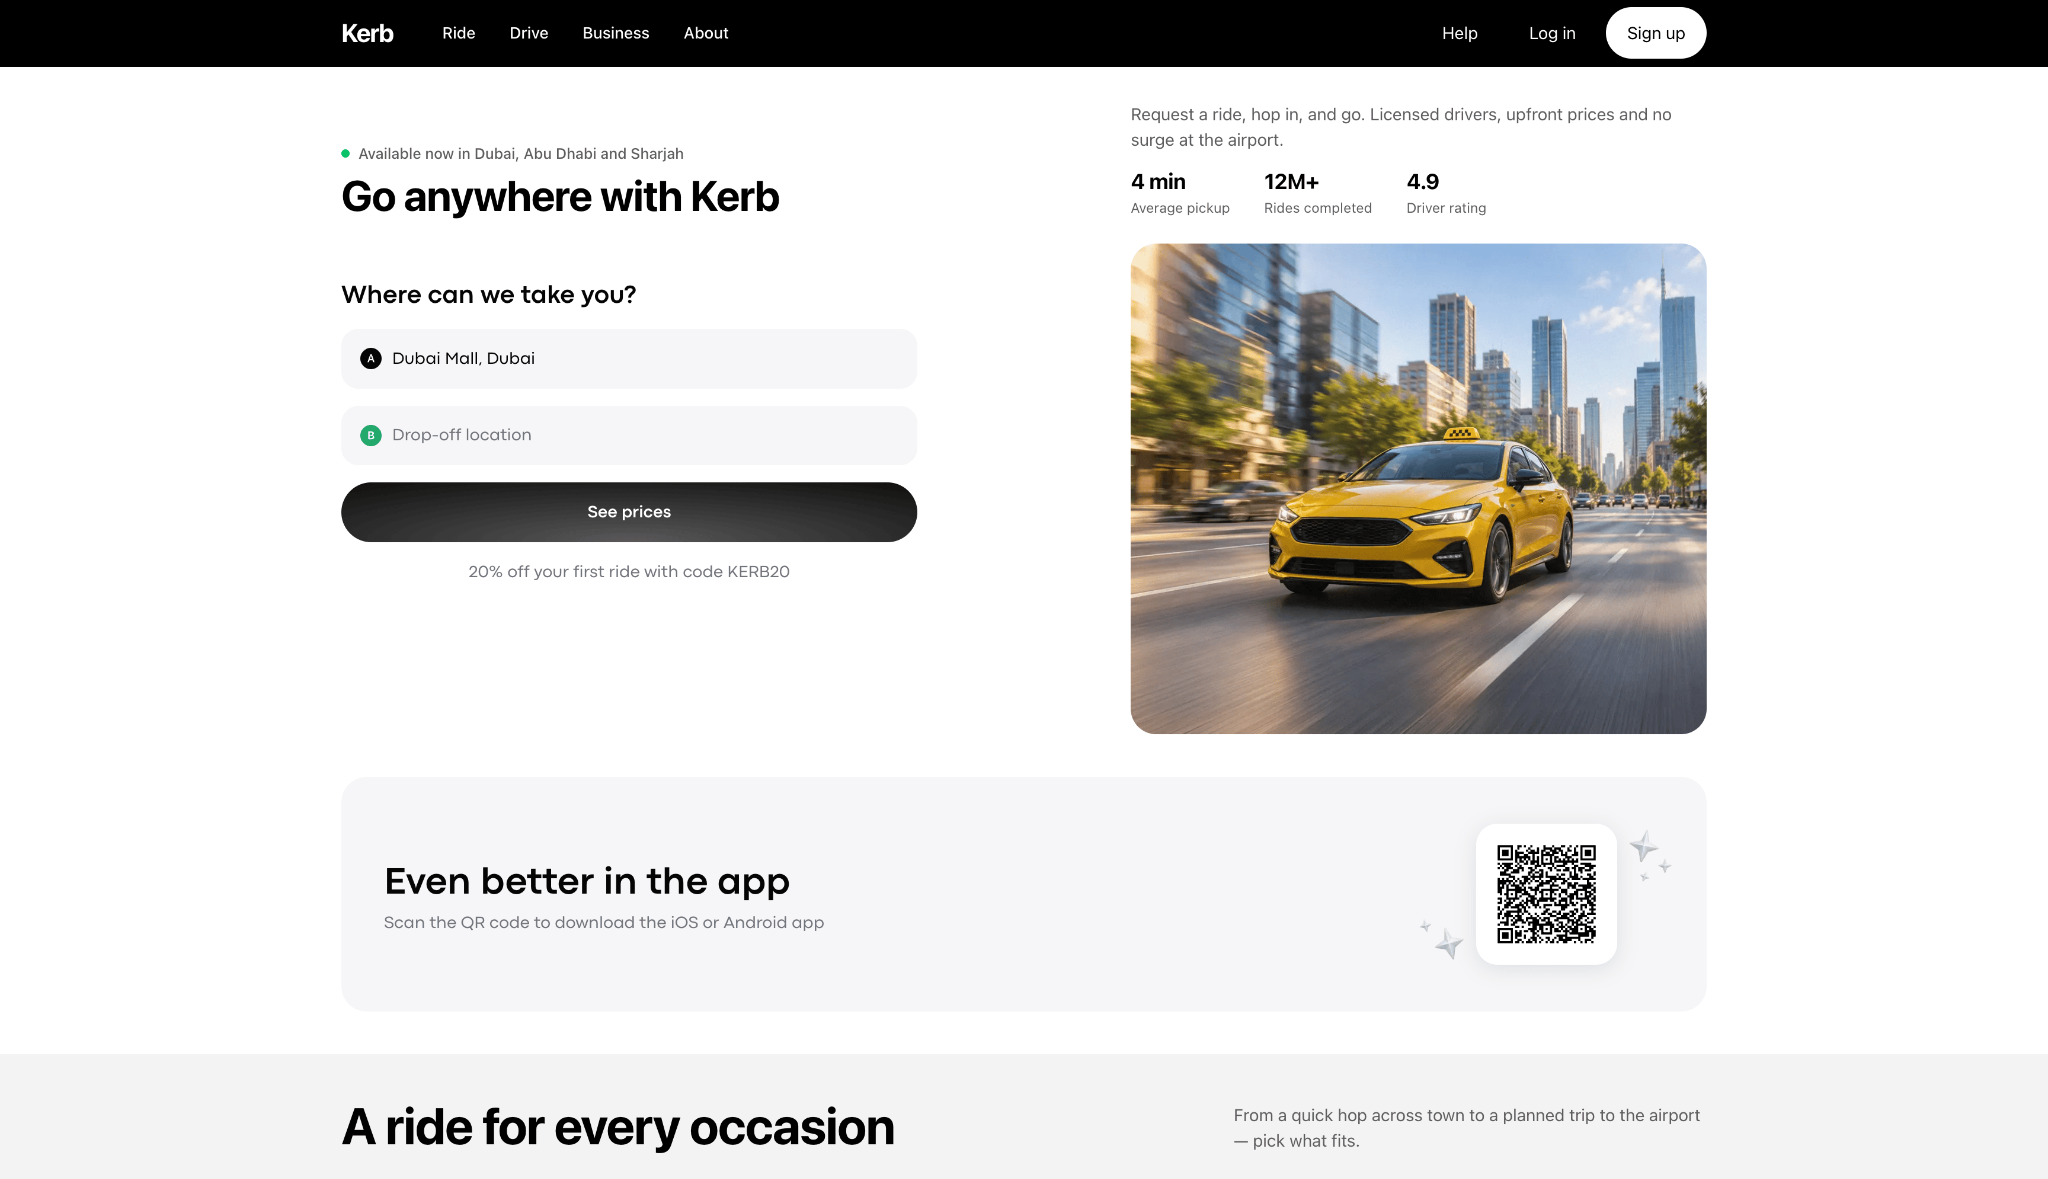
In case you need to place two different Web apps on two websites — for example, one for regular service and the other for on-demand - you can create them via the widget builder and use separate codes for each website.
Do not forget to replace the code whenever you change the settings in the widget builder.
Enjoy the modern view and efficiency of the custom Web app you created, blending perfectly with your website!